As such, if you want to remove your PIN at login in Windows 11, then this is the place where you need to be. Here we’ll see how to remove your PIN login from your Windows 11 computer. So, let’s begin.
Remove PIN Login on Windows 11
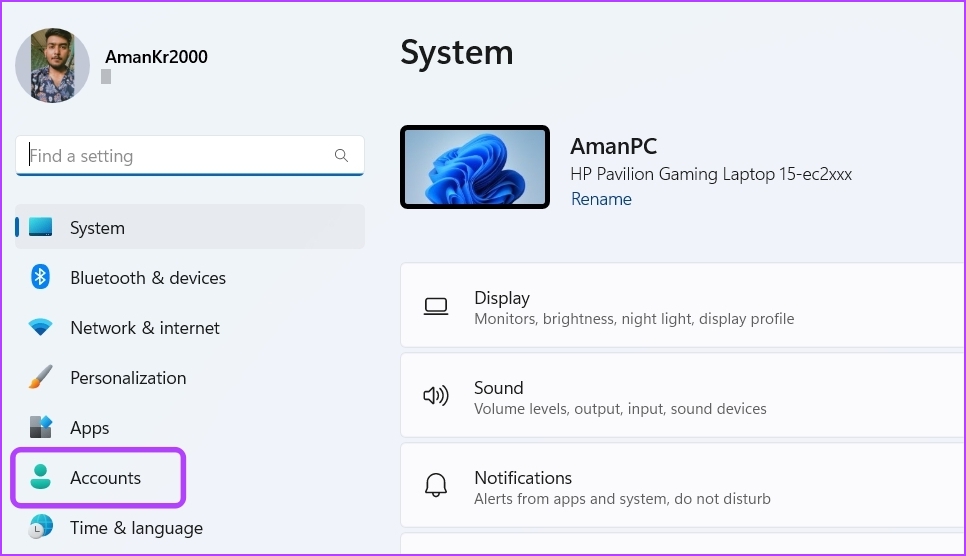
Using PIN to login into Windows is one of the quicker way to employ some level of security. However, it’s a cakewalk to remove PIN login from your Windows 11 computer. Here’s how to do it: Step 1: Press the Windows + I keys to open the Settings app. Step 2: Choose Accounts from the left sidebar.
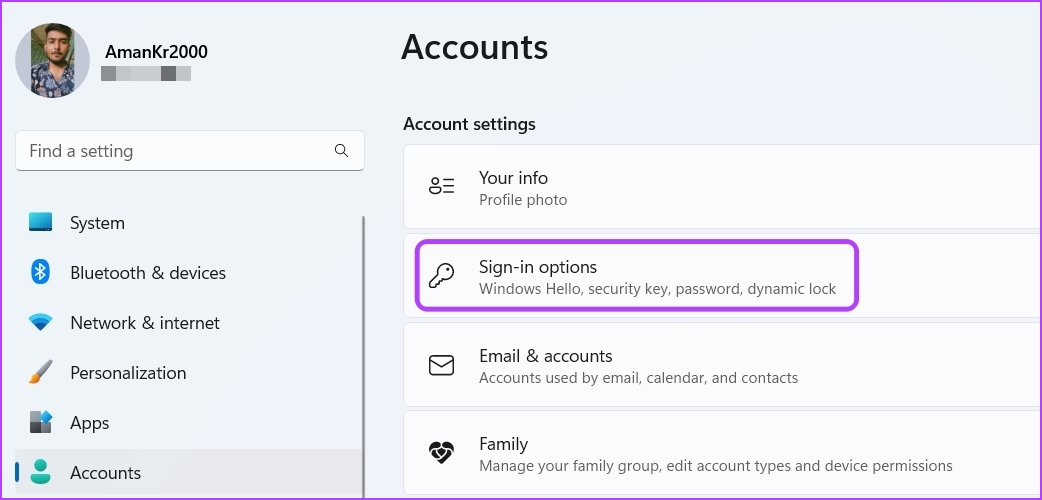
Step 3: In the Account settings section, choose the Sign-in options.
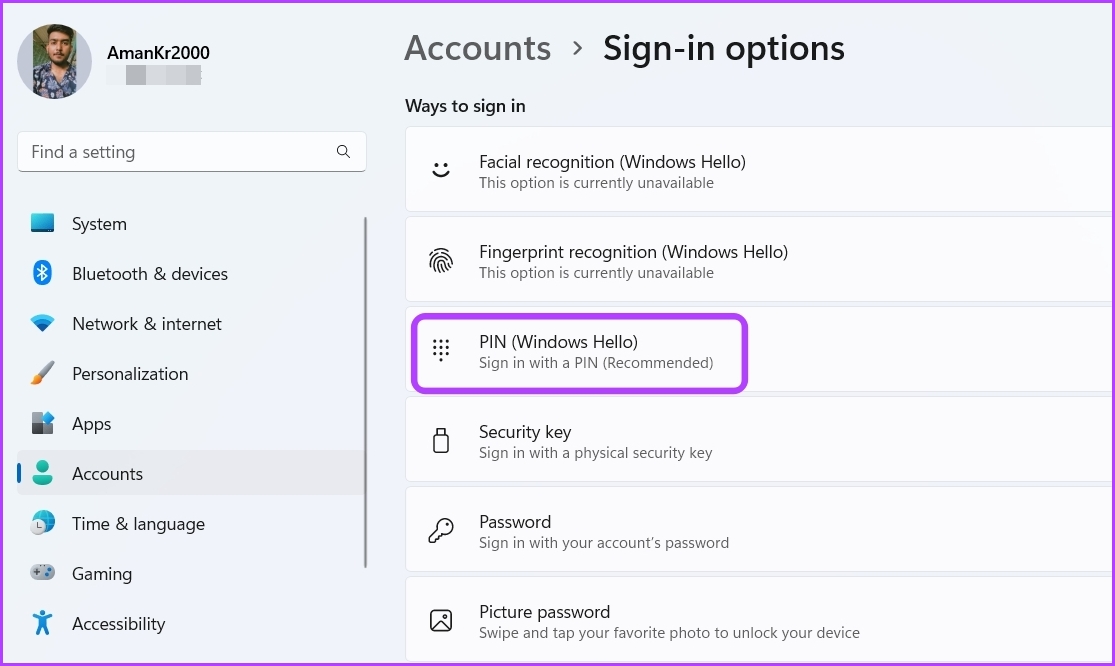
Step 4: Choose PIN (Windows Hello) from the list of sign-in options.
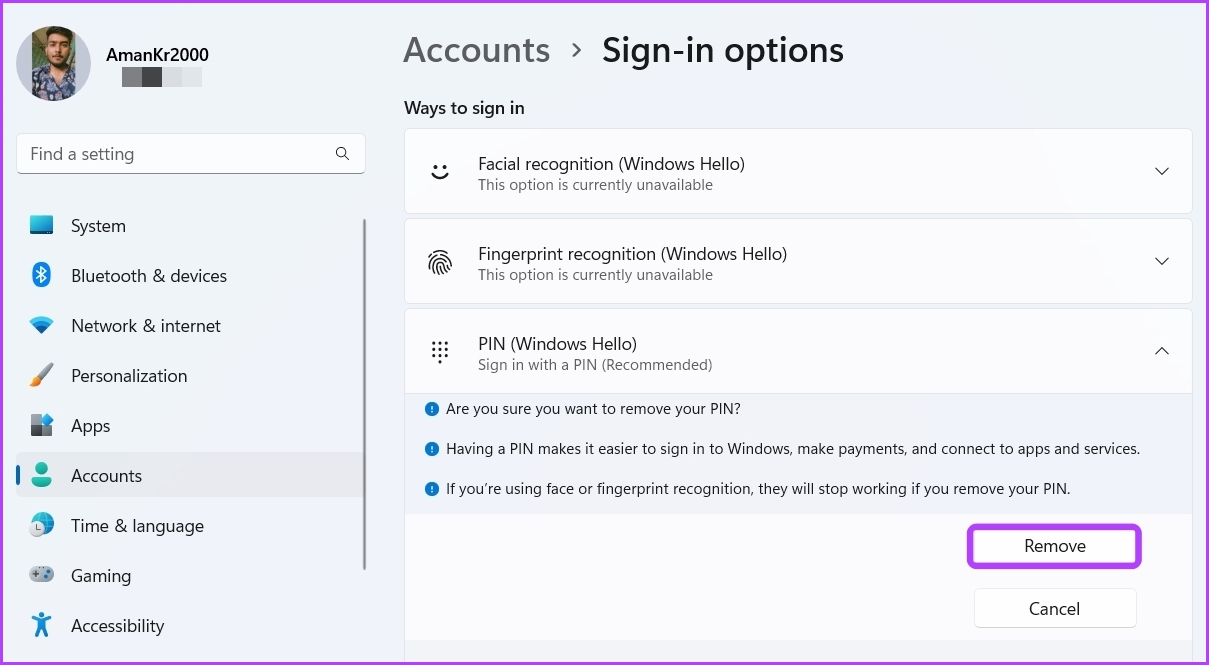
Step 5: Click the Remove button next to the ‘Remove this sign-in’ option.
Step 6: Click Remove again to confirm your selection.
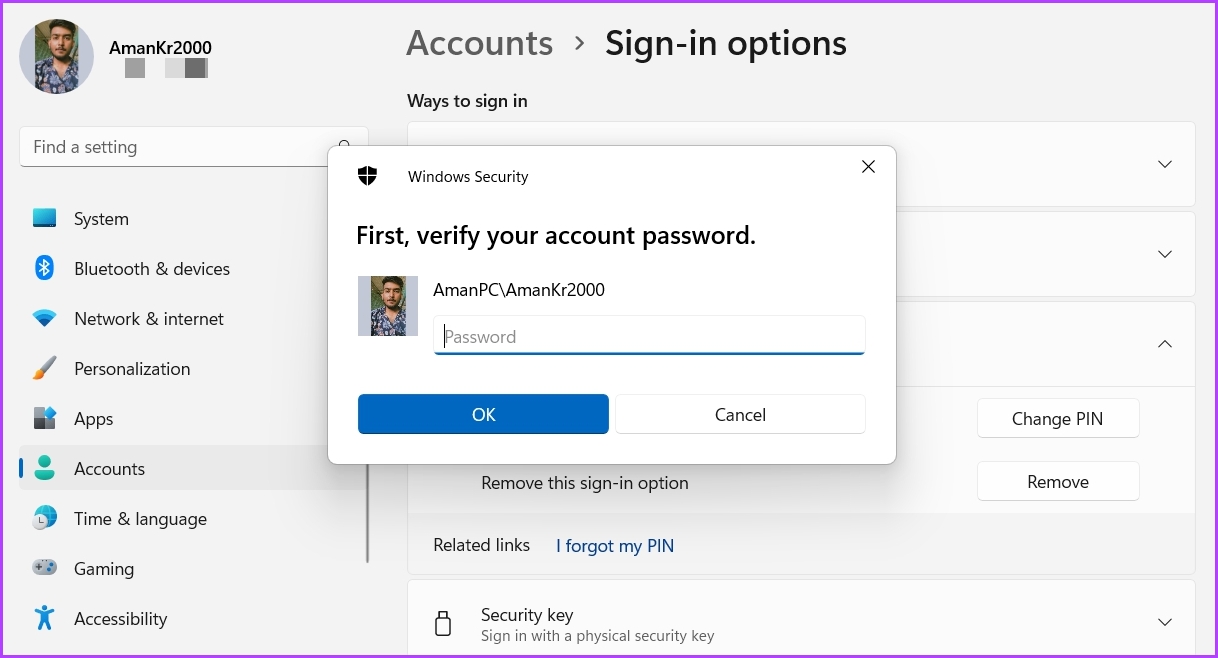
Step 7: Enter the Microsoft account password and click OK.
That’s it. The PIN login method has now been removed from your Windows 11 computer.
Remove Pin Login Using I Forgot My Pin Option
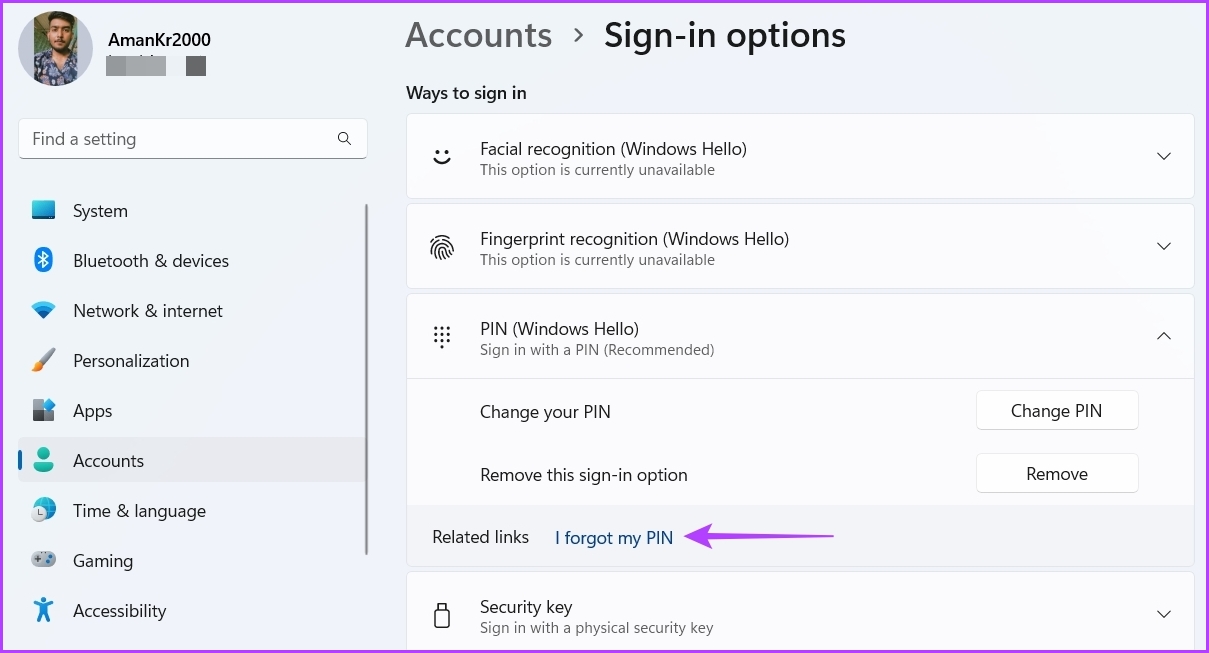
The ‘I forgot my PIN’ option lets you change your PIN in case you forget it. But you can use this option to remove the PIN from the login as well. Here’s how you can do it on your computer: Step 1: Press Windows + I keys to open the Settings app, and choose Accounts from the left sidebar. Step 2: Choose the Sign-in options from the right pane. Step 3: Click PIN (Windows Hello) and then click on I forgot my PIN option.
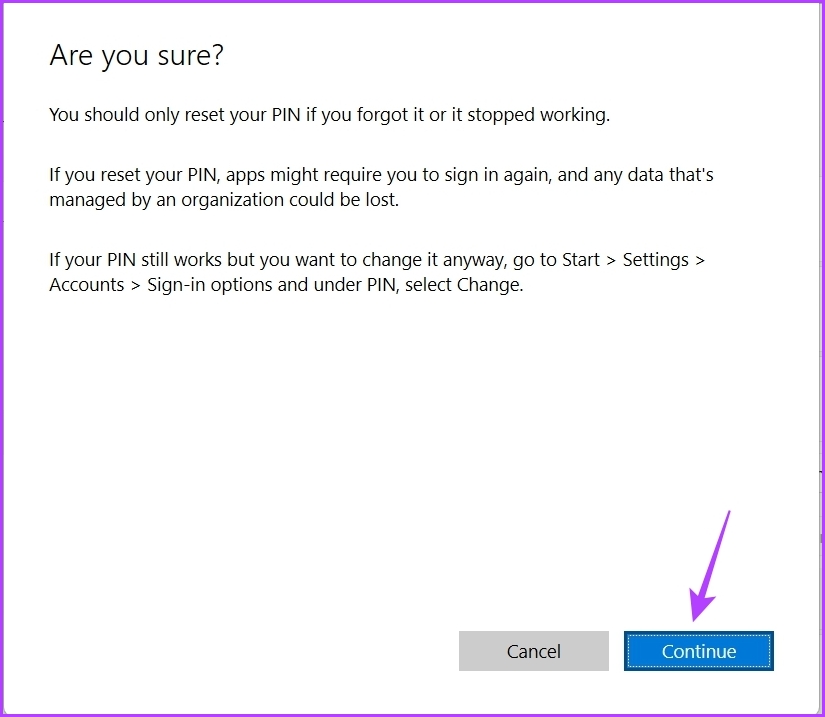
Step 4: Click Continue on the Microsoft account window that crops up.
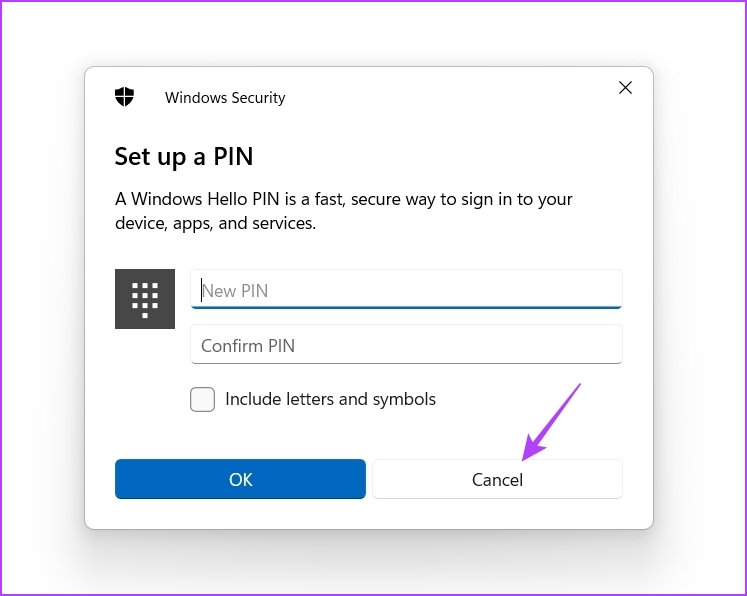
Step 5: In the Set up a PIN window, click the Cancel option.
Step 6: A Microsoft account window will appear saying that Your account requires a Windows Hello PIN. Click the Close icon at the top-right corner.
Windows PIN login has been successfully removed from your computer.
Remove PIN Login By Switching to Local Account
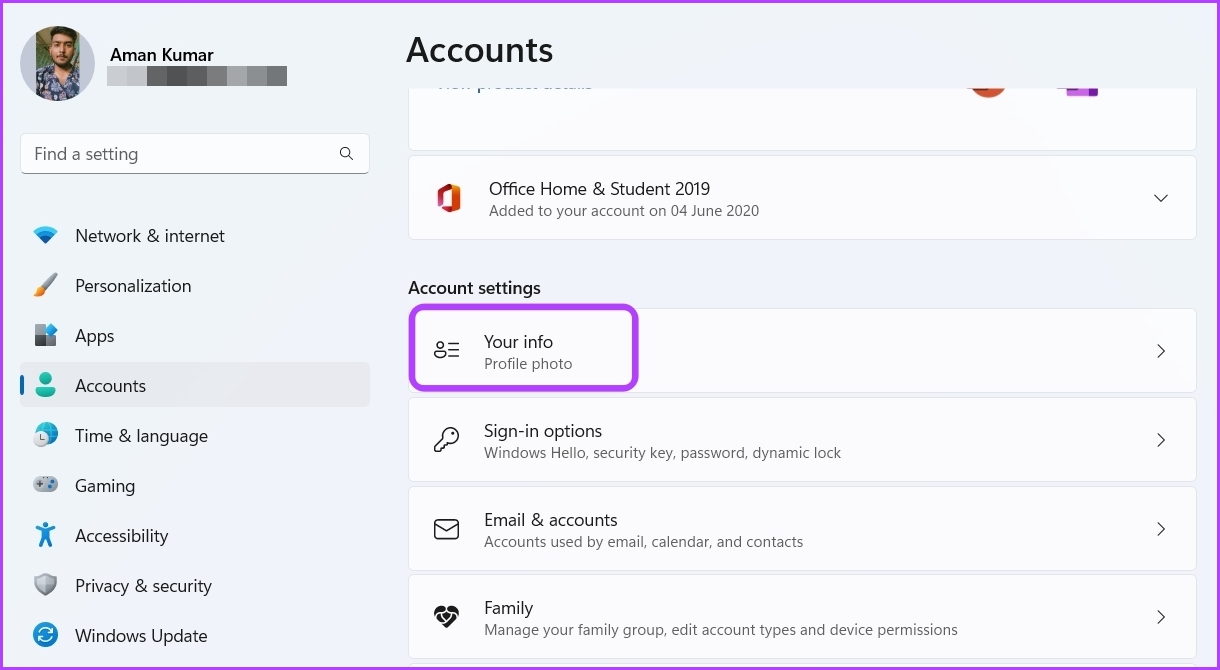
Windows chooses your Microsoft account as the default account type when setting up a new user account. It does so as a Microsoft account offers better security, easy access to Microsoft services, hassle-free data, and setting synchronization across devices. However, if you don’t want Microsoft to handle your information, you can switch to the local account on your computer. A local account has many changes compared to a Microsoft account, one of which is the passwordless login. You can log in to your computer using a local account without entering any PIN or password. So, here’s how you can switch to a local account on your computer. Step 1: Press Windows + I keys to launch the Settings app, and click Accounts from the left sidebar. Step 2: Select the Your info option from the right pane.
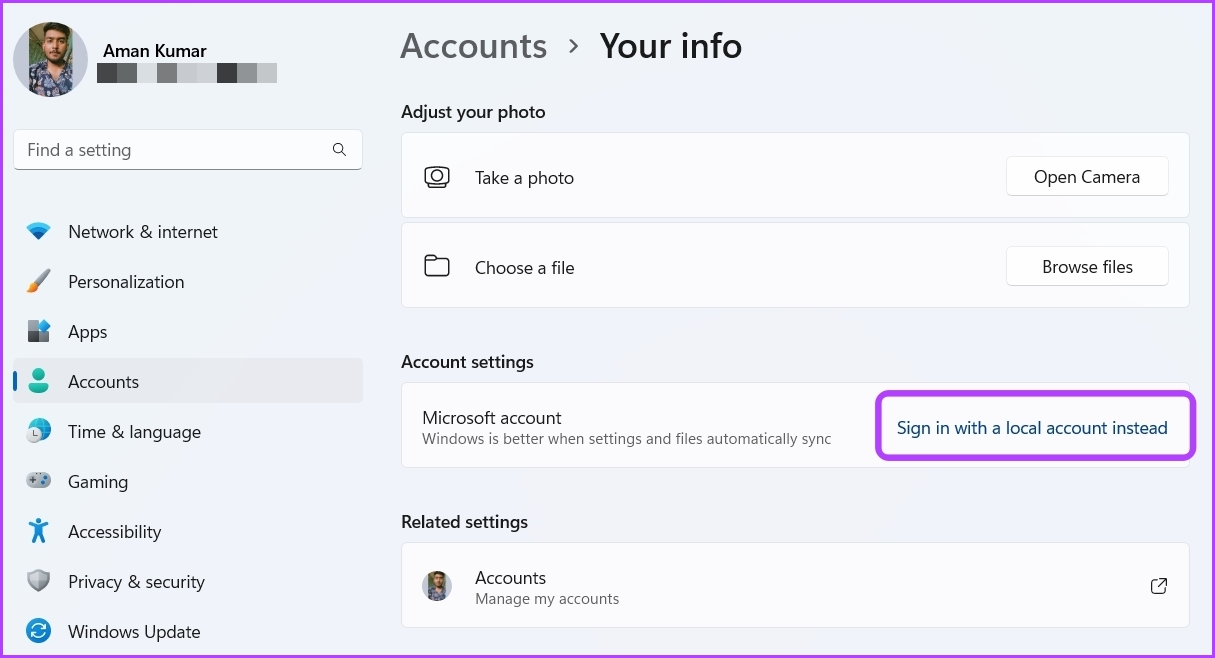
Step 3: Click the ‘Sign in with a local account instead’ hyperlink next to Microsoft account.
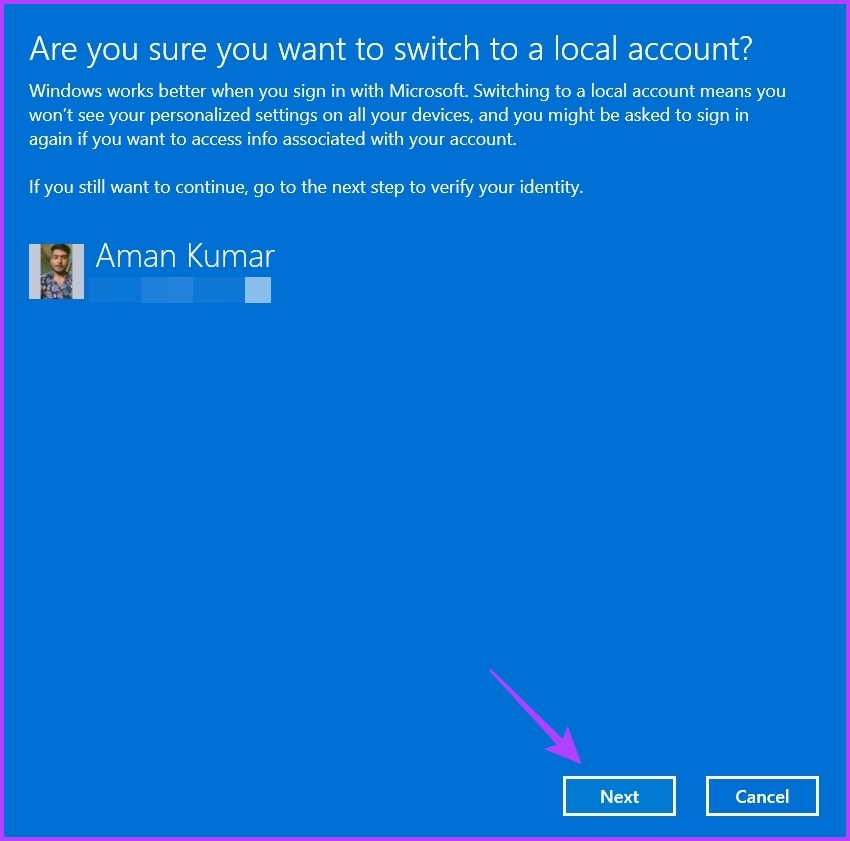
Step 4: A new window will appear, asking you to confirm your selection. Click Next to confirm.
Step 5: Enter the computer’s password and press Enter.
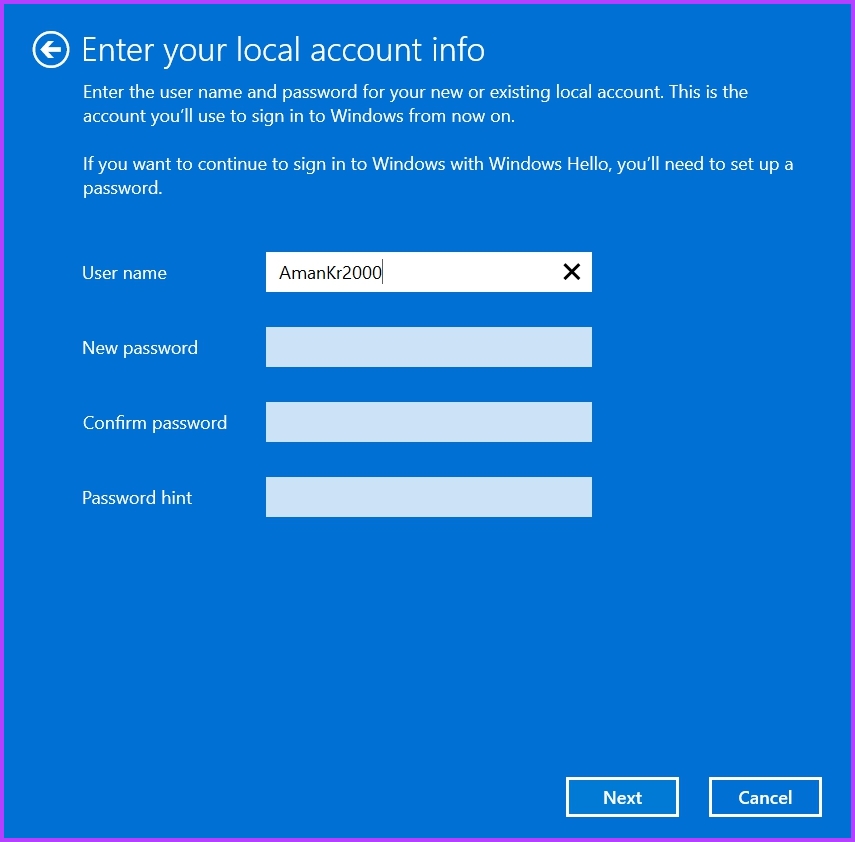
Step 6: In the Enter your local account info window, type the User name and leave the New password, Confirm password, and Password hint section blank. Then, click Next.
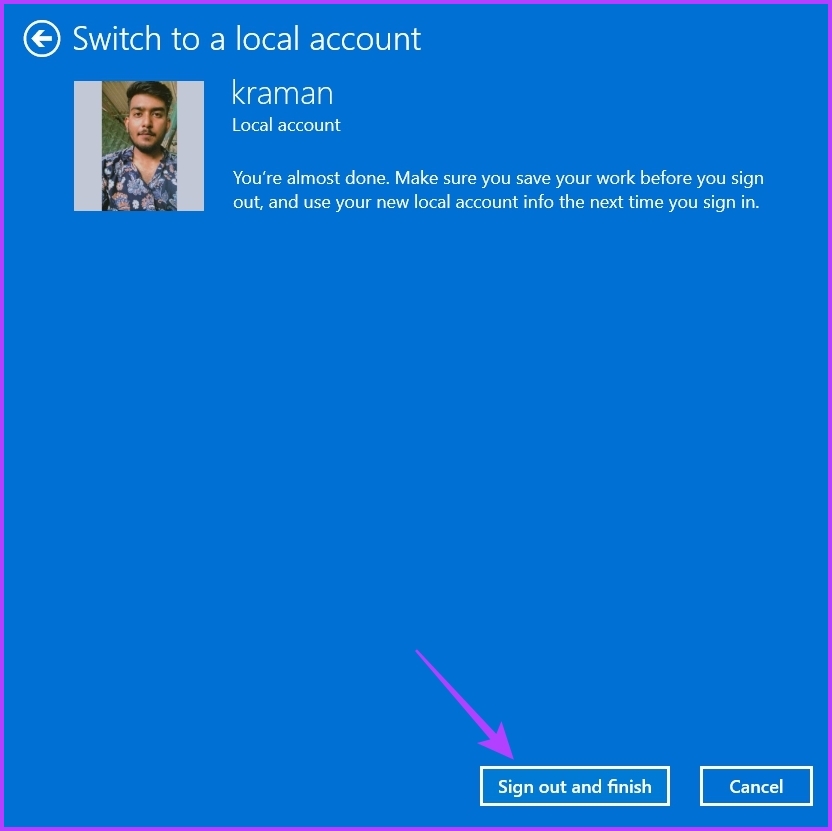
Step 7: Click the Sign out and finish button.
You’ll be signed out of your computer. Next, click the Sign in option to sign into your computer. From the next boot, your computer will directly log in to your account without asking you to enter any PIN or password.
How To Fix Remove This Sign-In Option Greyed Out Issue
When trying to remove the PIN login from your computer, the Remove this sign-in option is greyed out. This usually happens when the improved security option is enabled.
The solution is to disable the improved security option in the Settings app. You can do this by following the below steps: Step 1: Open Settings, and choose Accounts from the left sidebar. Step 2: Choose Sign-in options. Step 3: In the Additional settings section, disable the toggle next to For improved security, only allow Windows Hello sign-in for Microsoft accounts on this device option.
Next, relaunch the Settings app for the changes to take effect.
Enjoy Hassle-free Login On Windows 11
This guide helped you remove the PIN login from your Windows 11 computer. But note that a system without login security is always vulnerable to other users. Therefore, make sure to remove the PIN login only when you’re the sole user of your computer. The above article may contain affiliate links which help support Guiding Tech. However, it does not affect our editorial integrity. The content remains unbiased and authentic.


![]()